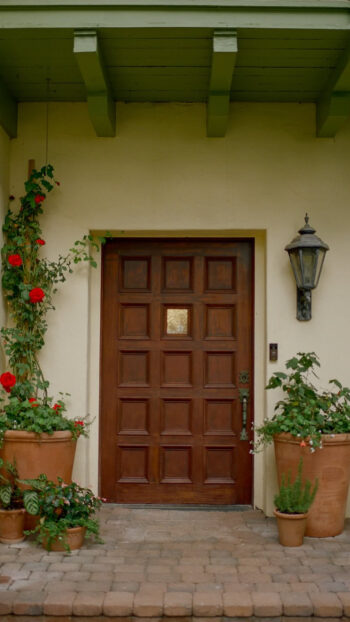
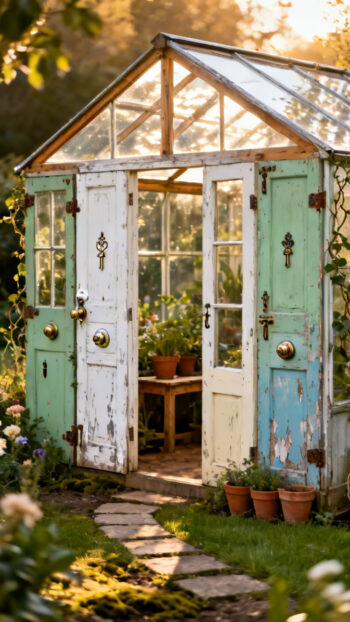
Small spaces can feel hard to decorate, especially when you want charm without clutter. These ideas help you turn a balcony ledge, porch corner, or tiny tabletop into a magical spot that feels rich, calm, and full of story.
Picture soft moss, worn wood, pebble paths, and little doors tucked between green leaves. You get color, texture, and wonder in places that once felt plain or forgotten.
These 9 ideas make it easier to start small and still create something unforgettable. Each one brings a different mood, from cozy woodland corners to sunny succulent scenes, so you can build a miniature garden that looks enchanting and stays simple to care for.
1. Choose a Tiny Garden Setting
A fairy garden works best when the space feels chosen on purpose, not squeezed in as an afterthought. Before you buy mini houses or tiny benches, look at the light, the size, and how often you will actually see the garden. That first choice shapes everything, from plant care to the mood of the finished scene. A good setting makes your small space feel special instead of crowded.
Start With the Spot You Already Notice
A balcony rail can hold a narrow planter with moss and a tiny path. A windowsill can frame a little village in morning light. A porch corner can support a crate or broken pot that feels grounded and natural. You do not need much room. You need a place that already has presence.
If you pass the area every day, you will enjoy the garden more and keep it looking fresh. That matters. I have seen tiny gardens disappear into unused corners, and they quickly lose their spark. Put yours where your eye lands often, and it becomes part of your daily rhythm.
Match the Design to Light and Weather
Sunny spots need plants and materials that can handle heat, such as succulents, gravel, and terracotta. Shadier places suit moss, bark, and softer greens that hold a woodland look. If the space gets wind or rain, heavier containers and glued accents help the design stay in place.
Think about scale too. A tabletop garden can be very detailed because you will see it up close. A porch display needs bolder pieces that still read clearly from a few feet away. Tiny doors, larger stones, and one clear focal point often work better outside.
Care should guide your choice as much as style. If you want something easy, pick a setting near a water source and out of harsh weather. If you love fussing with details, a sheltered windowsill gives you more freedom to add fragile touches like paper flags, painted signs, or delicate mushroom shapes.
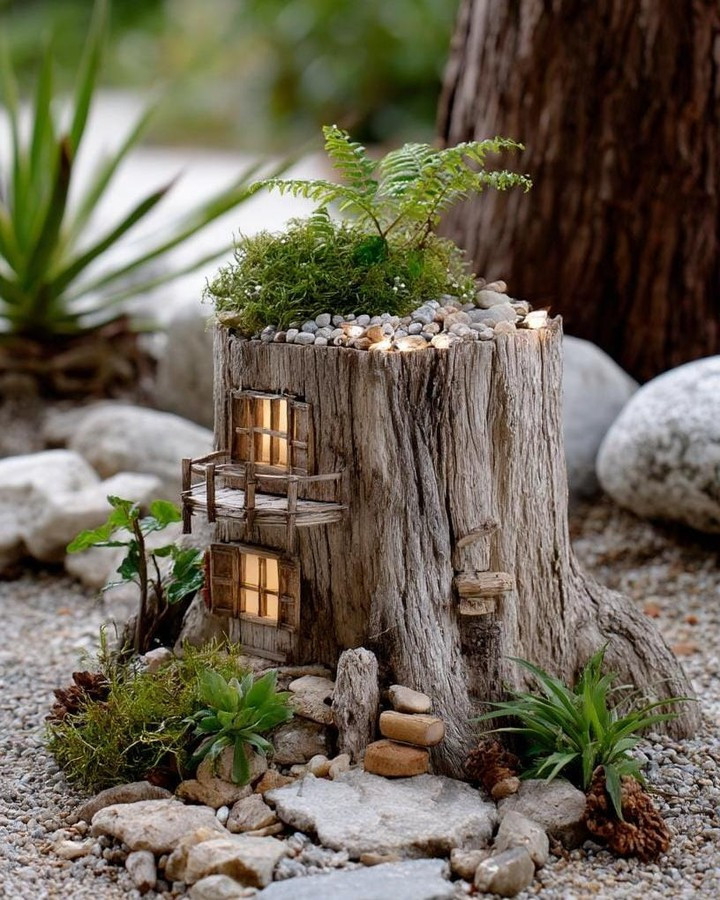
Credit to @lovely.harbor
2. Build a Mossy Teacup Village
Few fairy garden ideas feel as charming as a cluster of teacups filled with moss and tiny details. This look fits the smallest homes because each cup becomes its own little world. It is compact, pretty, and easy to move when you want to change the display. A teacup village also gives old dishes a second life, which adds even more character.
Turn Mismatched Cups Into Mini Homes
Vintage teacups, chipped floral mugs, and small creamers all work. Their patterns already bring color, so you do not need many extra decorations. A pale pink cup can hold a moss hill and one tiny door. A blue-and-white mug can become a cool, shaded scene with pebbles and a small bench.
Use a little soil at the base, then tuck sheet moss or preserved moss on top for a soft, full look. Add a few pebbles for a path and one main accent, such as a mushroom, ladder, or window. Keep each cup simple. The charm comes from the scale.
Grouping several cups together creates the village effect. Line them on a tray, a shelf, or a windowsill with a bit of space between each one. The different heights and handles make the whole display feel collected over time, not bought all at once.
Keep the Details Delicate
This style looks best when the pieces feel light and a little storybook-like. Choose soft textures, gentle colors, and small natural items. Tiny shells, smooth stones, acorn caps, and bits of bark can do more than plastic decorations ever will. They look quiet and believable.
Drainage matters if you use live plants. If the cups have no hole, treat them as decorative covers and place a small nursery pot inside, or keep the planting shallow and water very lightly. That one step helps you avoid soggy roots and keeps the display neat.
3. Layer a Crate Woodland Scene
A shallow wooden crate gives you room to build a fairy garden with real depth. It feels more like a scene than a single planter, which makes even a compact setup look larger. The wooden sides frame the design and help every detail stand out, especially if you love a rustic style. For a mini garden with strong atmosphere, a woodland scene is hard to beat.
Use Height to Make It Feel Bigger
The secret is layering. Raise the back with extra soil, stones, or tucked pieces of bark so the scene slopes gently forward. Then place taller items, like tiny trees or a fairy house, near the rear. Shorter moss patches, pebble clearings, and low plants belong near the front where you can see them best.
This simple lift changes the whole look. A flat crate can seem static, but a sloped crate feels like a real landscape. It gives your eye places to travel, which is exactly what makes small gardens feel rich and imaginative.
Build Paths, Clearings, and Forest Texture
Bark chips make excellent woodland paths because they look rough and natural. Small stones can edge the path and create a tidy line through the garden. Add one open clearing in the middle or to one side so the crate does not feel packed from edge to edge.
Texture does most of the visual work here. Moss softens the ground, bark adds age, and twigs bring a handmade look. I like using one crooked twig as a fence or arch because it feels found, not forced. Those small, imperfect details give the garden warmth.
Choose just a few mini accents and let the plants and materials tell the story. A tiny lantern, a bench, or a door against a bark “tree” is enough. If you add too many pieces, the crate starts to look busy. Restraint makes the forest mood stronger.
If the crate sits outdoors, line it first so the wood lasts longer and the soil stays in place. A simple plastic liner with drainage holes can help. It is a hidden fix, but it keeps your work looking good through more than one season.
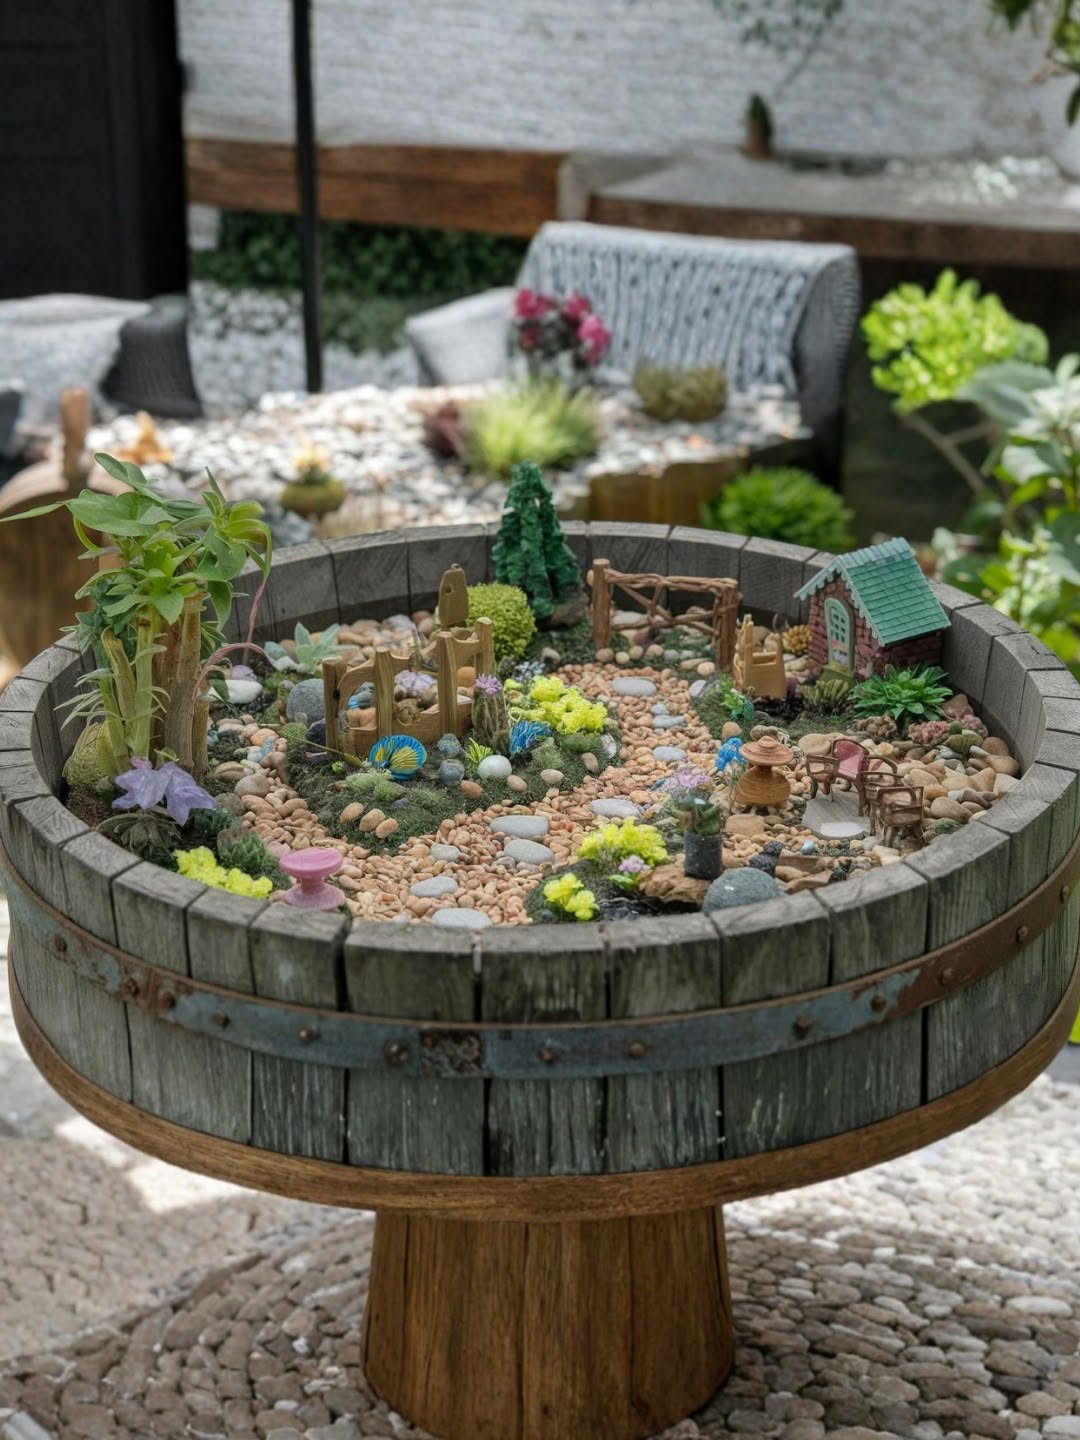
Credit to @stewart_milne_homes
4. Create a Succulent Fairy Nook
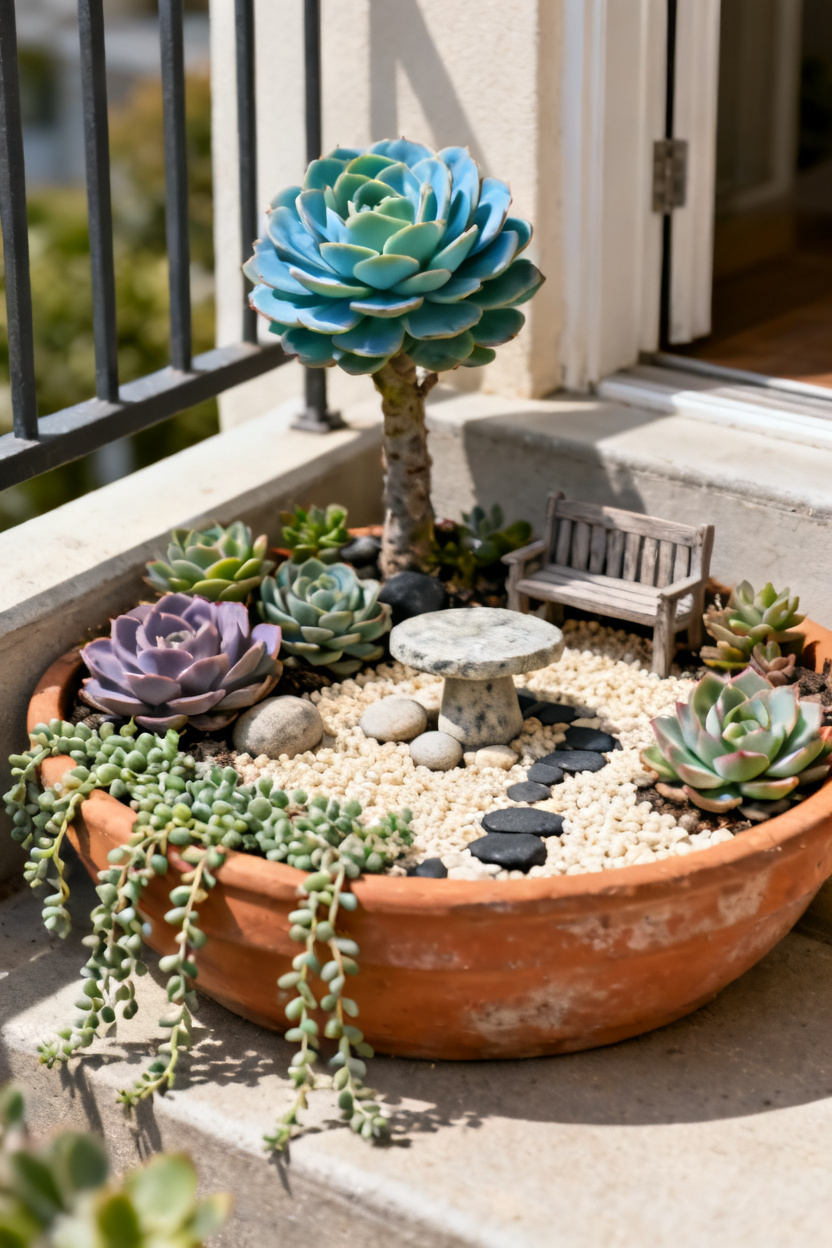
If your space gets strong sun and dries out fast, succulents can save you a lot of effort. They hold their shape, come in beautiful muted greens and dusty purples, and pair well with gravel, stone, and tiny furniture. The result feels clean, bright, and magical without asking for constant care. A succulent nook is one of the smartest ways to build a fairy garden that lasts.
Pair Simple Plants With Clean Texture
Succulents already look sculptural, so you do not need much else. A rosette echeveria can act like a tiny tree crown. A trailing sedum can spill over an edge like soft groundcover. Add pale gravel, a few smooth stones, and a miniature chair, and the whole scene feels calm and intentional.
This style works especially well in modern small spaces. On a sunny balcony or front step, it feels tidy and fresh. You still get the whimsy of a fairy garden, but the design stays crisp rather than overly sweet.
Color matters more than people think. Try mixing blue-green succulents with warm terracotta and cream gravel for a soft desert look. Or use deeper green plants with charcoal stone if you want stronger contrast. The palette gives the garden its mood before any ornament does.
Leave some open ground visible. Succulent gardens need breathing room for their shapes to show. That bit of empty gravel between plants makes the display look more polished and keeps it from turning into a crowded bowl.
Use Mini Furniture With Restraint
A small bench, table, or stone seat gives the garden its fairy feel, but keep the number low. One or two pieces are often enough in a succulent setup. Too many extras compete with the plants, and the quiet beauty gets lost.
Choose materials that match the dry, sunny mood. Stone-look items, weathered wood, and sandy tones fit naturally. If you use painted pieces, faded white or soft sage usually blend better than bright colors. The goal is a nook that looks settled into the space, as if it has always been there.
5. Design a Broken Pot Hideaway
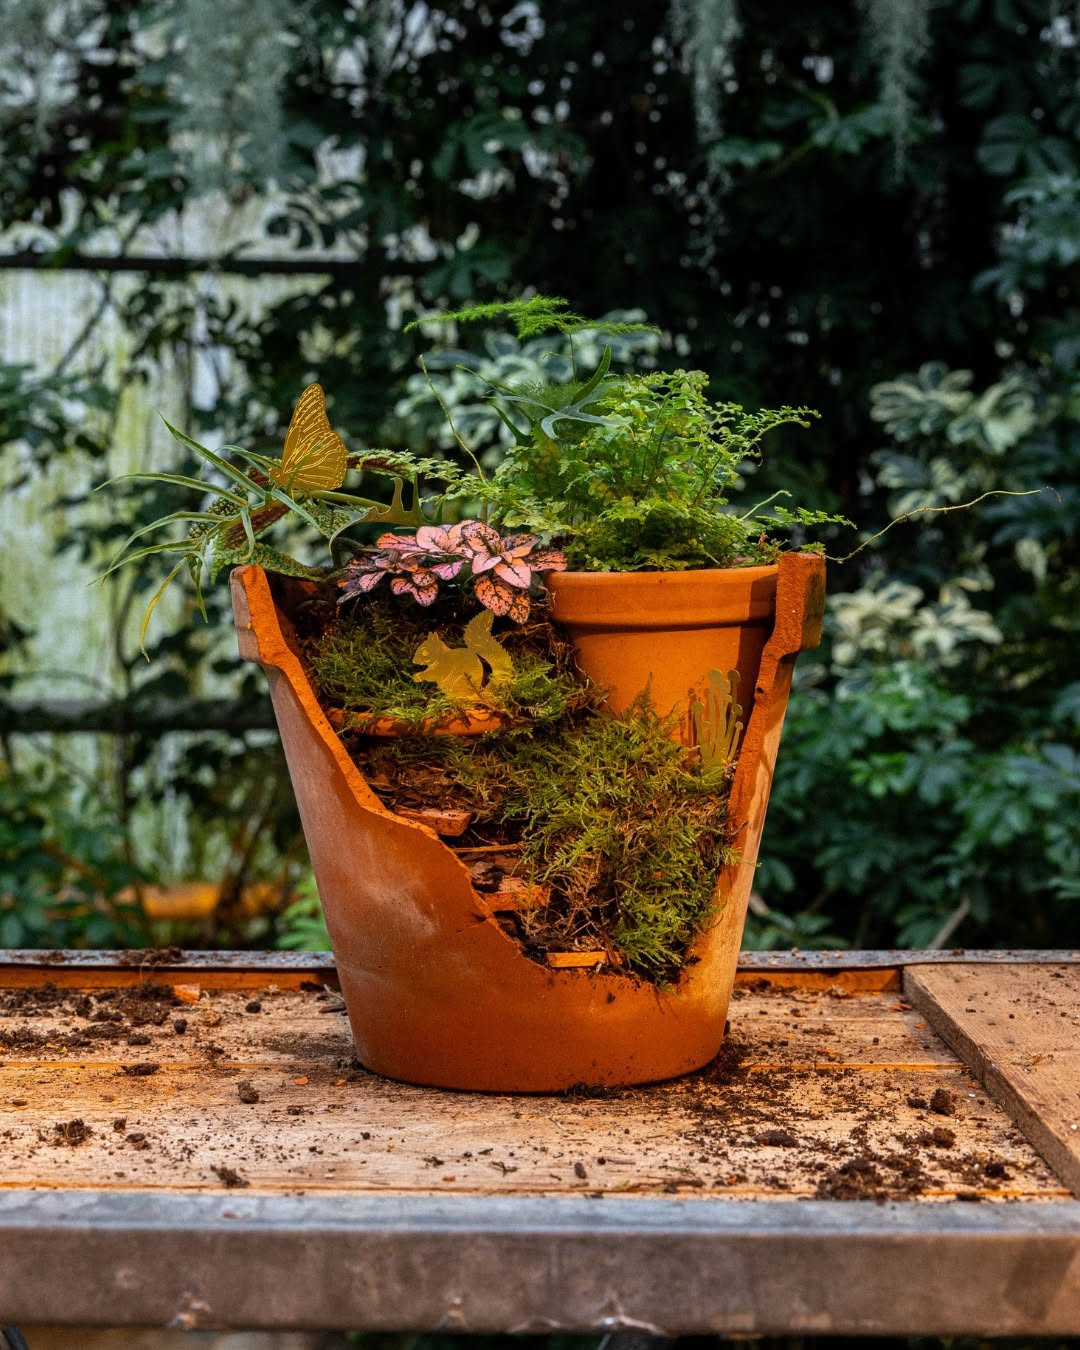
A cracked planter can become one of the most magical fairy gardens you make. The broken edges create natural levels, which means you get steps, terraces, and pockets for planting without much extra work. It feels organic right away, like a tiny ruin reclaimed by plants and time. That layered structure is what makes a broken pot garden so memorable.
Turn the Damage Into the Design
Start by setting the largest shard back inside the pot at an angle. This forms the first terrace and suggests a stairway or cliff edge. Add more pieces below or above it to create a path that leads the eye upward. The jagged lines are part of the charm, so do not try to make them look too perfect.
Use soil to lock the shards in place, then fill the pockets with small plants, moss, or gravel. Tiny creeping plants can soften the edges, and pebbles can mark the steps. The pot quickly begins to look like a hidden retreat tucked into a hillside.
I love this idea because it already carries a sense of age. A brand-new planter can feel plain. A broken one tells a story before you add a single accessory, and that story makes the fairy details feel more believable.
Shape a Tiny Retreat That Feels Secret
This design shines when you guide the viewer through it. Place a little door near the base, a stair path up one side, and a small seat or lantern near the top. That movement makes people pause and look longer because the eye keeps discovering new things.
Credit to @plnts_com
6. Add Pathways and Tiny Landmarks
A fairy garden starts to feel real when you can imagine moving through it. That is why pathways matter so much. A trail, bridge, sign, or arch gives the eye a place to travel, and it makes even a very small container feel like a tiny world with its own map.
Make the Eye Wander
A path gives your garden direction. Without one, the scene can look like a pile of cute pieces set close together. With one, your plants and mini houses feel linked, almost like each one belongs to the next chapter of a story.
You can make a trail with pea gravel, aquarium stones, crushed shells, or even broken bits of terracotta. Keep the path narrow, and let it curve a little. A curved line feels more natural than a straight one, especially in a shallow planter or old drawer.
Small Landmarks, Big Story
Once the path is in place, add one or two landmarks that pull attention forward. A twig bridge over blue glass beads, a tiny sign near a moss patch, or a bent-vine arch at the entry can do the job. These pieces guide the scene without making it busy.
I like to think of landmarks as pauses. They give your eye a reason to stop, then move again. That rhythm makes the garden feel larger than it is, which helps a lot when you are working in a bowl, a window box, or a broken basket.
Keep the scale tight. If a sign is too tall or a bridge is too wide, the illusion breaks fast. Test each piece before you glue or place it for good, and leave a little open space around it so the detail stands out instead of getting lost.
7. Use Lighting for Evening Magic
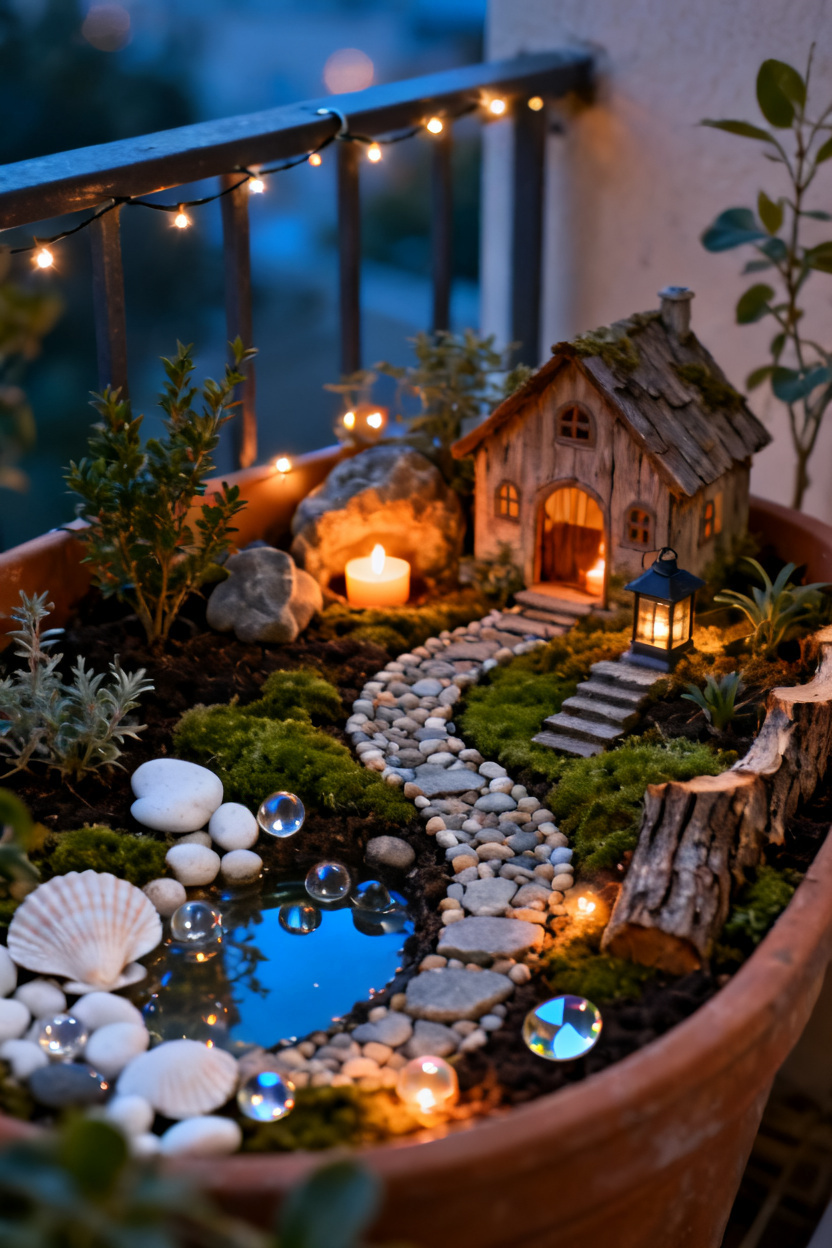
A fairy garden should not disappear when the sun goes down. Soft lighting keeps the scene alive after dark, and it changes the mood in a simple but strong way. Even one warm glow can turn a plain pot on a balcony into something that feels special at night.
Choose a Gentle Glow
Harsh light ruins the charm. Fairy gardens look better with tiny, warm points of light that seem tucked into the scene instead of sitting on top of it. Micro string lights, tiny solar stakes, and hidden tea lights near the back edge all work well.
If your garden sits outdoors, try solar pieces first. They save you from tangled cords, and they switch on without extra effort. Put the panel where it gets good sun, then hide the rest of the piece behind a small shrub, a stone, or a fairy house.
Indoor gardens need a different plan. Battery micro lights are easier to hide, and they fit well around a doorway, along a path edge, or inside a miniature lantern. Keep the battery pack out of sight behind the container or under a cover made from bark or moss.
Light should support the scene, not take it over. Two or three glows often look better than a whole string wrapped around everything. If every corner shines, the garden loses depth and starts to look flat.
Use Reflection, Not Just Bulbs
You can get evening magic without adding many actual lights. White pebbles, mirrored bits, clear marbles, and pale shells catch whatever glow is already there and spread it farther. This trick works especially well in very small gardens where one bulb would feel too strong.
Try placing reflective stones near a mini pond, a path turn, or the front step of a fairy house. The light will bounce in soft ways, and the whole setup will feel richer with less effort. It is a quiet detail, but people notice it right away when dusk falls.
8. Craft Handmade Fairy Accessories
The best fairy gardens feel personal. Store-bought pieces can look nice, but handmade accessories bring warmth and character that ready-made sets often miss. A tiny bench, door, fence, or mushroom made by hand gives your scene its own voice, and it often costs almost nothing.
Build with Simple Supplies
You do not need a craft room full of tools. Popsicle sticks, wine corks, twine, acorn caps, clay, bark, and small stones can become almost anything with a bit of glue and patience. These materials also look more natural in a garden than shiny plastic pieces.
A bench is one of the easiest projects to start with. Cut craft sticks to size, glue them into a small seat and back, then leave the wood plain or wash it with watered-down paint for an aged look. Tiny fences work the same way and help frame a path or mark a little front yard.
Doors are another favorite because they add mystery. Press one into the soil near a plant base or lean it against a stone so it looks hidden. I have made small doors from cardboard and paint before, and once moss grew around the edges, they looked far better than anything from a package.
Keep the Look Consistent
Handmade pieces work best when they share a style. If your garden feels woodland, use bark, twigs, seed pods, and muted paint colors. If it leans bright and playful, clay mushrooms and painted signs can fit better, but keep the color palette tight so the scene still feels calm.
Scale matters here too. A mushroom taller than the house or a fence thicker than the tree trunk can throw off the whole setup. Lay each piece in place before you commit, and remove anything that feels too loud. A few well-made accents usually beat a crowded collection every time.
9. Keep the Mini Landscape Thriving
A fairy garden should stay lovely after the first week. Good care keeps the plants healthy, the details clean, and the whole scene believable through changing weather. This part is less flashy, but it is what makes your enchanted small-space garden last.
Water, Trim, and Watch Closely
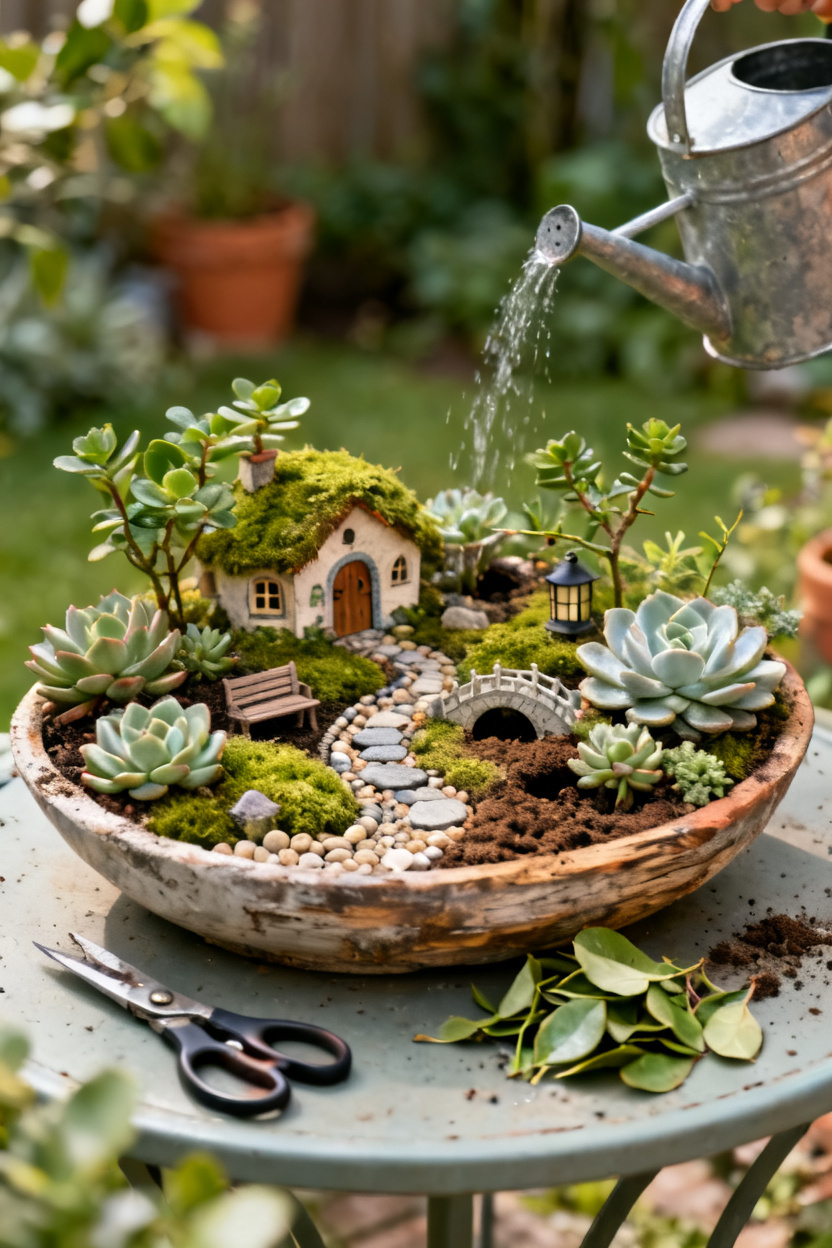
Small containers dry out fast. Check the soil often with your finger instead of watering on a strict schedule, because moss, succulents, and small foliage plants all need different amounts. Too much water can rot roots and wash away tiny paths, so slow, careful watering is better than a heavy pour.
Trimming matters just as much. A plant that looks charming in week one can swallow a fairy house by week three. Snip back growth that blocks paths, covers doors, or shades smaller plants too much, and pull dead leaves right away so the garden stays neat.
Pests can sneak in, especially outdoors. Look under leaves and around damp spots for gnats, aphids, or mold. If you spot trouble early, you can usually fix it with gentle cleaning, better airflow, or moving the garden into a slightly brighter place.
Conclusion
Your fairy garden does not need much space to feel rich and memorable. A winding path, a soft light, a handmade bench, and a little steady care can change the whole mood of a porch corner or windowsill. Start with one idea that fits what you already have, then build from there. If a detail makes you pause and smile, it belongs. Save the ideas that match your style, try one this weekend, and let your tiny garden grow into a place that feels magical in every season.