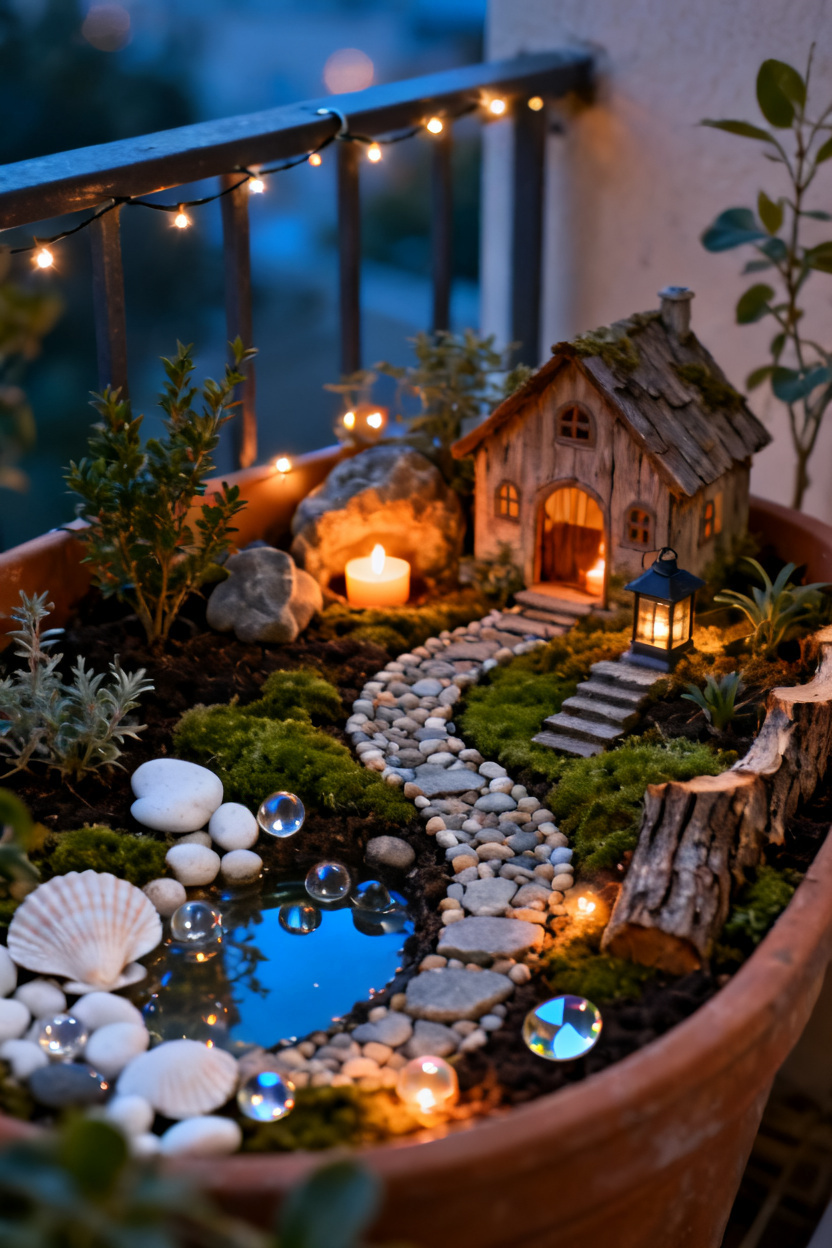
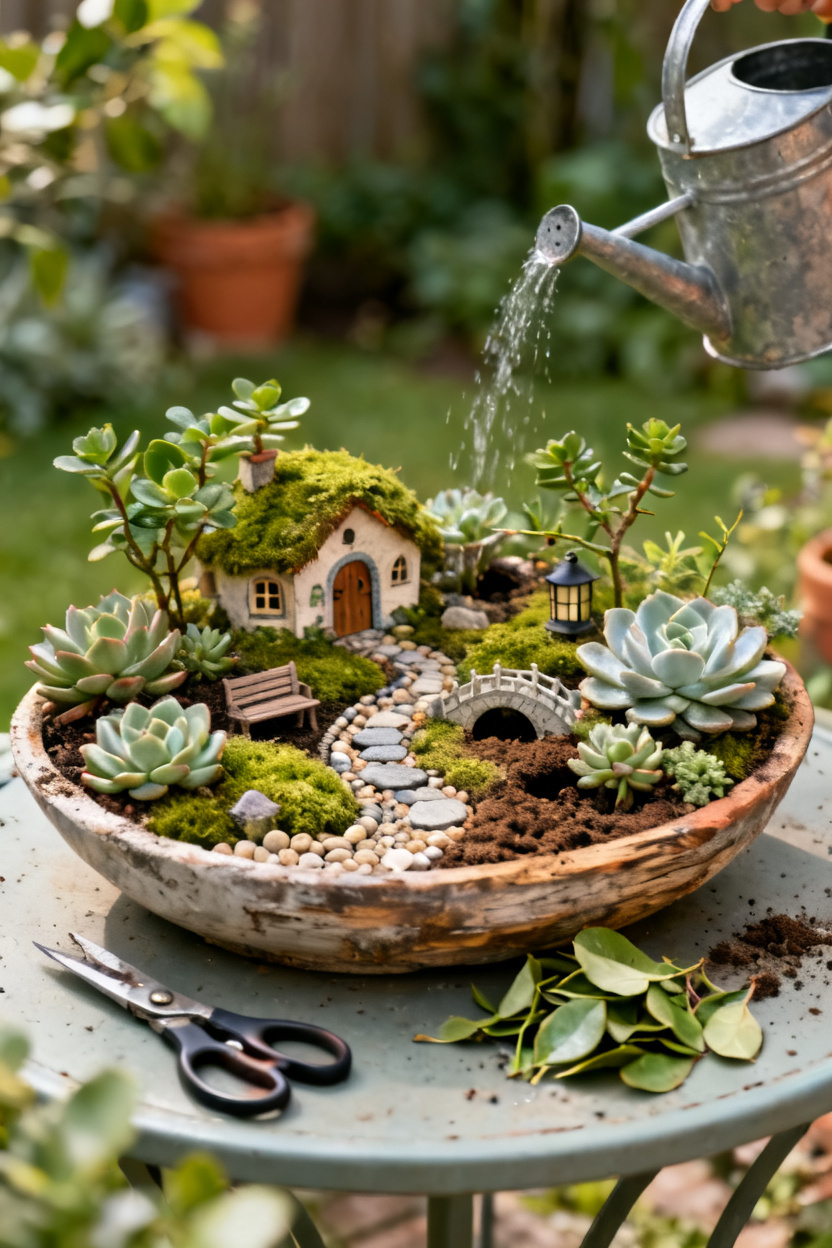
Creating a DIY fairy garden is a fun and imaginative way to bring a little magic into your life. With a variety of themes and materials, you can easily craft a miniature world that reflects your personality and creativity. From charming pathways and tiny houses to vibrant plants and playful accessories, the options are endless. Let’s take a look at some enchanting ideas to spark your creativity and help you design a fairy garden that will delight both kids and adults alike.
Design A Fairy Garden Scene With Miniature Furniture And Natural Moss

Creating a fairy garden scene is a delightful way to bring a touch of magic to your outdoor space. The image shows a charming setup featuring miniature furniture, including a round table and four chairs, all arranged on a lush bed of natural moss. This setting invites imagination and creativity, making it perfect for both kids and adults.
The use of natural moss as a base adds a soft, vibrant touch to the garden. It mimics the forest floor, providing a cozy atmosphere for the tiny inhabitants of your fairy garden. You can easily find moss in local craft stores or even in your backyard, making it an accessible option for everyone.
In the scene, a small wooden house sits in the background, enhancing the whimsical feel. This tiny dwelling can serve as a home for your fairy figurines. You can personalize the house with paint or decorations to match your garden's theme. Adding elements like flowers or pebbles around the house can create a more inviting environment.
To make your fairy garden even more enchanting, consider incorporating a few accessories. Here are some ideas:
- Miniature garden tools for a playful touch.
- Tiny flower pots filled with colorful blooms.
- Small pathways made from pebbles or twigs.
These additions can help tell a story in your fairy garden, making it a unique reflection of your personality. Remember, the key is to have fun and let your creativity shine!
Create A Whimsical Fairy Garden In A Shallow Planter Bowl

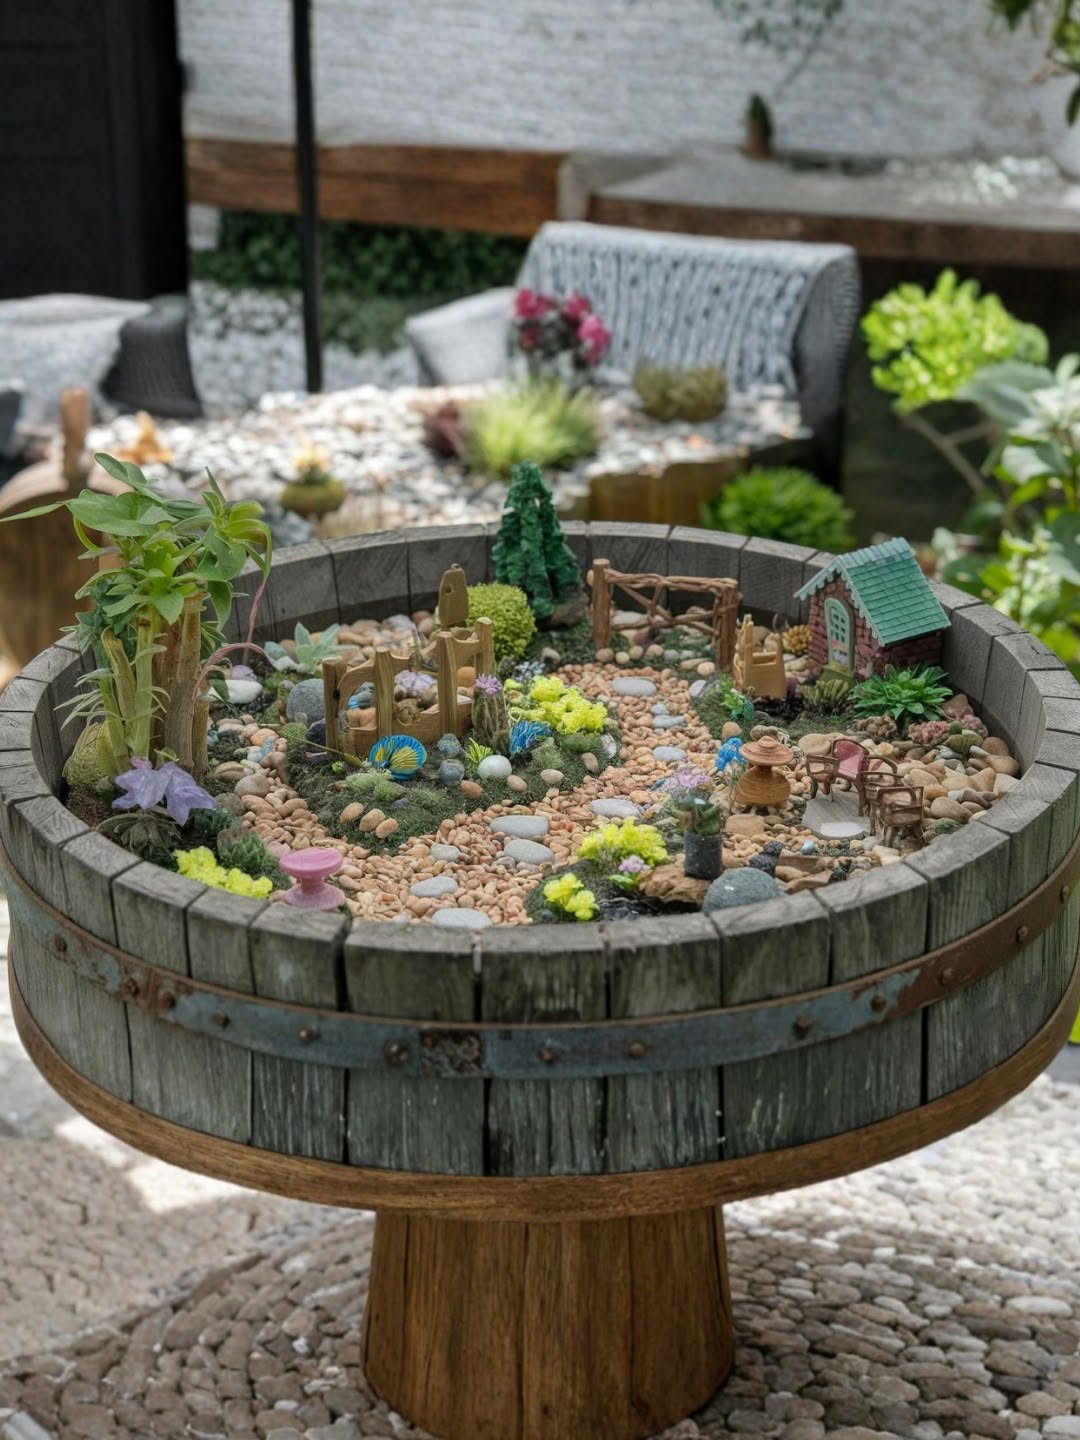
Creating a fairy garden in a shallow planter bowl is a delightful way to bring a touch of magic to your home. The image shows a charming setup with colorful miniature houses, tiny figures, and vibrant flowers nestled in lush green moss. This scene invites you to step into a world of imagination.
Start by selecting a shallow planter bowl that fits your space. A bowl with a wide rim allows for easy access and a lovely display. Next, layer the bottom with pebbles for drainage, followed by a generous amount of potting soil. This base will support your plants and decorations.
Choose small plants or moss to fill the bowl. Moss works wonderfully as it gives a soft, natural look. You can also add tiny flowers for pops of color. Arrange your miniature houses and figures around the plants, creating little scenes. Consider placing a gnome next to a flower or a fairy beside a tiny house.
Lighting can enhance the magic of your fairy garden. String lights or small LED candles can create a warm glow, especially in the evening. This adds a cozy atmosphere and makes your garden feel enchanting.
Finally, don’t forget to personalize your garden. Add unique elements like miniature furniture, tiny pathways made of stones, or even a small water feature. These details make your fairy garden truly one-of-a-kind.
Build A Fairy Garden Pathway With Pebbles, Bark, And Twigs

Creating a fairy garden pathway is a delightful way to add charm to your miniature landscape. The image showcases a pathway made of colorful pebbles, surrounded by lush greenery and tiny fairy figurines. This setting invites imagination and creativity, making it a perfect project for both kids and adults.
To start, gather materials like pebbles, bark, and twigs. Choose pebbles in various colors and sizes to create a visually appealing path. Lay them out in a winding pattern to mimic a natural trail. You can also use bark to line the edges of the pathway, giving it a rustic look. Twigs can be placed along the sides or even used to create small fences.
Here’s a simple step-by-step guide to building your pathway:
- Choose a location for your fairy garden that gets some sunlight.
- Clear the area of any debris and level the ground.
- Arrange the pebbles in your desired pattern.
- Secure the bark along the edges with soil or small stones.
- Add twigs for decoration or as a border.
Once your pathway is in place, consider adding small plants or flowers along the sides. This will enhance the fairy garden's enchanting feel. Tiny decorations like miniature umbrellas or flower pots can also bring your garden to life. The key is to have fun and let your creativity shine!
Design A Teacup Fairy Garden For Small Indoor Spaces

Creating a teacup fairy garden is a delightful way to bring a touch of magic into your home. This charming idea is perfect for small indoor spaces, making it easy to add a whimsical element to any room. The image showcases a beautifully arranged teacup filled with tiny plants, pebbles, and a miniature fairy figure, all set against a sunny window.
To start your own teacup fairy garden, gather a few simple materials. You will need:
- A teacup and saucer
- Potting soil
- Small plants or succulents
- Miniature decorations (like fairies, stones, or tiny houses)
Begin by adding a layer of potting soil to the teacup. Choose plants that thrive in small spaces, such as moss or small succulents. Arrange them in the soil, ensuring they have enough room to grow. Next, sprinkle some decorative stones around the plants to create a natural look.
Finally, add your miniature decorations. A small fairy figure can bring the garden to life, while tiny houses or mushrooms can enhance the fairy tale feel. Place the teacup on a windowsill where it can receive sunlight, and watch it flourish. This project not only beautifies your space but also provides a fun and creative outlet.
Turn A Broken Pot Into A Layered Fairy Garden Scene

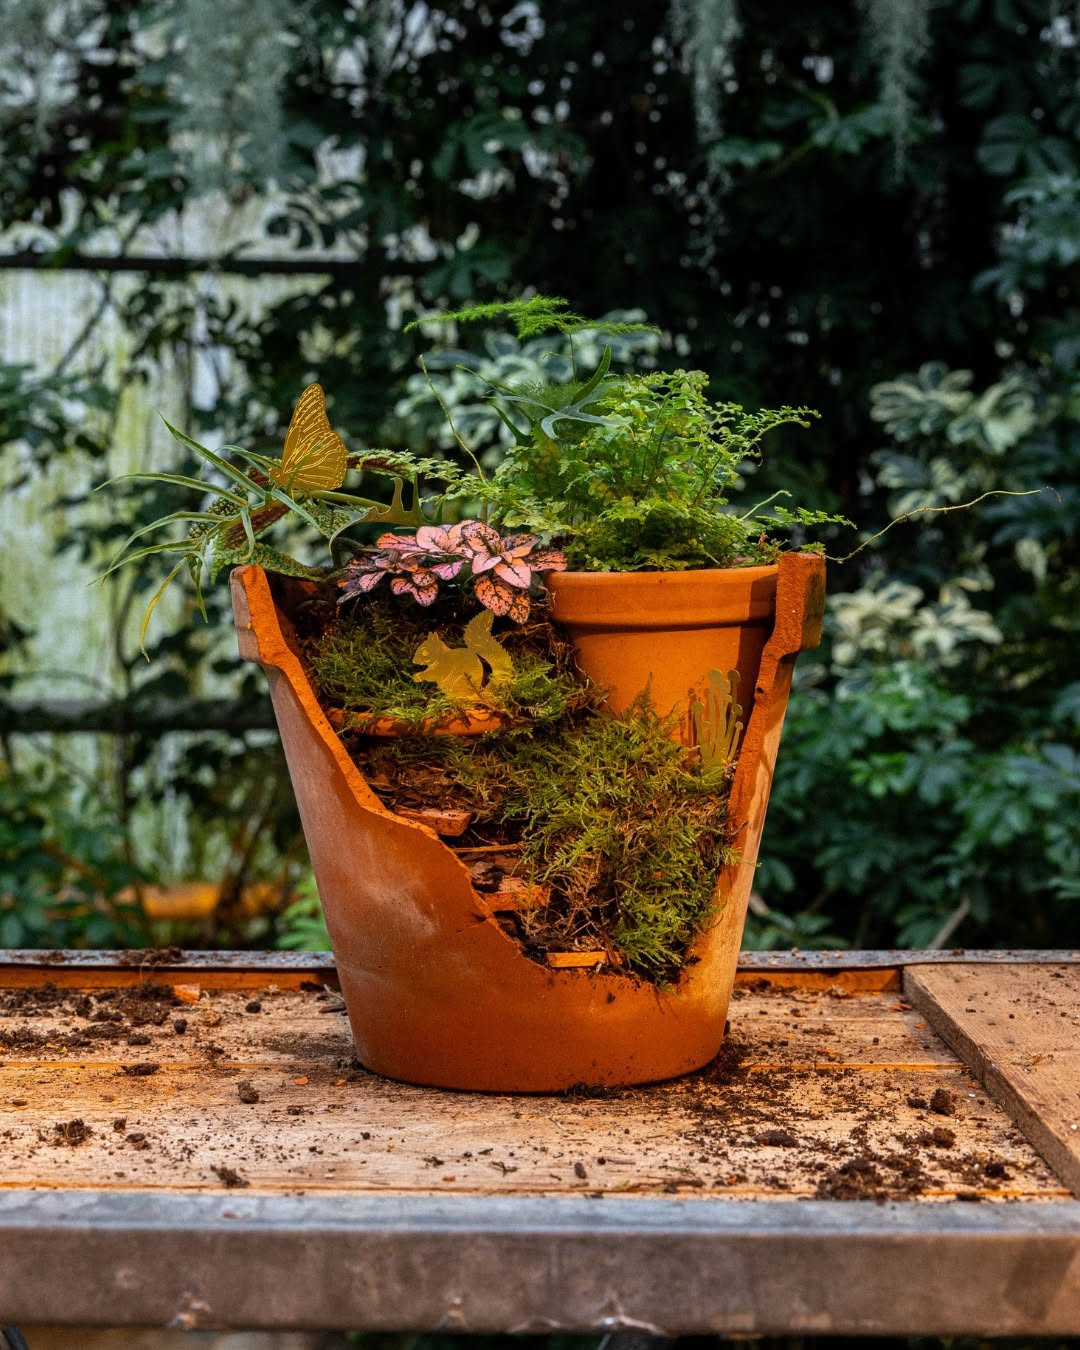
Transforming a broken pot into a layered fairy garden scene is a fun and creative project. The image shows a charming arrangement where a cracked terracotta pot serves as the base for a miniature garden. This setup not only recycles an old pot but also adds a whimsical touch to your outdoor space.
The broken pot is positioned upright, with the top half tilted slightly to create an inviting scene. Inside, you can see a mix of colorful pebbles, small plants, and a tiny fairy figurine. This layered effect gives depth and interest, making it feel like a magical world. The addition of vibrant flowers around the pot enhances the overall beauty, making it a delightful focal point in any garden.
To create your own layered fairy garden, start by gathering materials. You will need:
- A broken terracotta pot
- Potting soil
- Small plants or succulents
- Colorful pebbles
- Fairy figurines or other decorations
Begin by filling the bottom of the pot with soil, then layer in the pebbles for texture. Next, plant your small plants, arranging them to create visual interest. Finally, add your fairy figurines and any other decorative elements to bring your scene to life. This project is not only easy but also allows for endless customization, making it a perfect weekend activity.
Make A Fairy Garden Tree House From Sticks And Hot Glue

Creating a fairy garden tree house is a delightful project that brings a touch of magic to your outdoor space. The image shows a charming tree house made from sticks, adorned with colorful flowers and tiny figures. This whimsical design invites creativity and imagination, making it perfect for both kids and adults.
To start, gather your materials. You will need sticks of various sizes, hot glue, and some decorative elements like miniature figures, flowers, and stones. The sticks can be collected from your backyard or a nearby park, giving your project a natural feel.
Begin by constructing the base of the tree house. Use larger sticks to form the walls and a sturdy base. Secure them with hot glue, ensuring everything is stable. Once the structure is complete, add smaller sticks for the roof. Feel free to get creative with the angles and shapes to make it unique.
Next, decorate your tree house. Use the hot glue to attach flowers and leaves around the house. Place tiny figures near the entrance, making it look like they are ready to welcome visitors. You can also add stones and moss around the base to create a natural landscape.
Finally, find a perfect spot in your garden for your fairy tree house. It could be under a tree, beside a flower bed, or even on a patio. This little project not only enhances your garden but also sparks joy and imagination for anyone who sees it.
Craft A Fairy Garden Pond With Glass Pebbles And Resin

Creating a fairy garden pond is a delightful way to add charm and whimsy to your outdoor space. The image showcases a vibrant pond surrounded by colorful flowers and playful fairy figurines. The use of glass pebbles gives the water a shimmering effect, making it look inviting and magical.
To start your own fairy garden pond, gather some basic materials. You will need:
- Glass pebbles in various colors
- Resin for a glossy finish
- Small figurines to represent fairies or other magical creatures
- Flowers and greenery for decoration
Begin by choosing a suitable container for your pond. It can be a small dish or a shallow bowl. Fill the bottom with a layer of glass pebbles, arranging them to create a natural look. Pour resin over the pebbles to give the pond a glossy surface that resembles water.
Next, place your fairy figurines around the pond. They can sit on the edges or even appear to splash in the water. Add flowers and greenery around the pond to enhance the fairy garden theme. Consider using a mix of real and artificial plants for a lively appearance.
Finally, step back and admire your creation. This enchanting pond will surely become a focal point in your fairy garden, inviting imagination and joy. Remember, the key is to have fun and let your creativity flow!
Assemble A Fairy Garden In A Wooden Crate For Outdoor Display

Creating a fairy garden in a wooden crate is a fun and charming way to bring a touch of magic to your outdoor space. The image shows a beautifully arranged miniature village complete with colorful houses, tiny figures, and lush greenery. This setup not only adds visual interest but also invites creativity and imagination.
To start, choose a wooden crate that fits your desired size. You can find these at craft stores or even repurpose an old one. Make sure it has drainage holes to keep the plants healthy. Next, fill the bottom with a layer of gravel for drainage, followed by potting soil. This will provide a solid foundation for your plants and decorations.
Now comes the fun part—arranging your fairy garden! You can include small figurines, miniature houses, and even tiny furniture. Consider adding elements like:
- Colorful flowers for a pop of color
- Small stones or pebbles to create pathways
- Miniature trees or shrubs for added greenery
Once your layout is complete, water the plants lightly and place the crate in a sunny spot. This setup not only enhances your garden but also serves as a delightful conversation starter for guests. Plus, it’s a wonderful project to involve kids, allowing them to express their creativity and enjoy nature.
Use Succulents To Create A Low-Maintenance Fairy Garden

Creating a fairy garden with succulents is a delightful way to bring a touch of magic to your space. The image shows a charming miniature scene filled with colorful succulents, tiny houses, and whimsical fairy figures. This setup not only looks enchanting but also requires minimal care, making it perfect for both beginners and seasoned gardeners.
Succulents are known for their ability to store water, which means they thrive in various conditions. This quality makes them ideal for a fairy garden. You can choose a variety of shapes and colors, like the vibrant yellow and pink flowers seen in the image. Mixing different types of succulents adds texture and interest to your garden.
To start your own fairy garden, gather a few essential items:
- A shallow container or wooden box, similar to the one in the image.
- Potting soil that drains well.
- A selection of small succulents.
- Miniature decorations like fairy figures, tiny houses, and stones.
Once you have everything, follow these simple steps:
- Fill your container with potting soil, leaving some space at the top.
- Arrange your succulents in the soil, placing larger ones in the back and smaller ones in the front.
- Add your miniature decorations around the plants to create a whimsical scene.
- Water lightly and place your garden in a spot with indirect sunlight.
With this setup, you can enjoy a beautiful fairy garden that brings joy without the hassle of constant upkeep. Just a little water now and then will keep your succulents happy and thriving!
Construct A Fairy Garden Cottage From Clay Or Cardboard

Creating a fairy garden cottage is a delightful project that can spark creativity and imagination. Using materials like clay or cardboard, you can build a charming little home for your fairy friends. The image showcases a whimsical cottage adorned with colorful roof tiles, tiny windows, and a welcoming door. This cottage is surrounded by vibrant flowers and playful decorations, making it a perfect centerpiece for your fairy garden.
To start, gather your materials. For a clay cottage, you will need air-dry clay, sculpting tools, and paint. If you prefer cardboard, collect sturdy cardboard, scissors, and glue. Begin by shaping the walls and roof of your cottage. You can use a simple box shape for the base and add a sloped roof for character. Once your structure is ready, let it dry completely before painting it in cheerful colors.
Next, think about the details. Add windows, a door, and even a chimney. You can create these features using smaller pieces of clay or cardboard. Painting them in contrasting colors will make them pop. Once your cottage is complete, place it in your fairy garden, surrounded by pebbles, flowers, and miniature figures to bring it to life.
Don't forget to personalize your cottage! You can add tiny decorations like flower pots, a little path made of stones, or even a small garden. The more details you include, the more enchanting your fairy garden will become. This project is not just fun; it’s a wonderful way to express your creativity and create a magical space.
Transform A Birdhouse Into A Charming Fairy Garden Home

Using a birdhouse as a fairy garden home is a delightful way to spark creativity. The image shows a charming wooden birdhouse adorned with colorful decorations. It features tiny figures that seem to be enjoying their little world. This setup invites imagination and brings a touch of magic to any garden.
Start by selecting a birdhouse that catches your eye. Look for one with a welcoming design, like the one in the image. You can paint it or leave it natural, depending on your style. Next, gather some miniature accessories. Tiny furniture, fairy figurines, and decorative stones can add character to your garden home.
Creating a fairy garden is all about layering. Use moss as a base to mimic grass, and then add flowers and stones for texture. The image highlights how flowers can brighten the scene. Choose a mix of colors and sizes to create depth. You can even add small lights to make it enchanting at night.
When placing your birdhouse, think about its surroundings. Position it where it can be admired but also blend with nature. Consider nearby plants or trees that can enhance the fairy tale vibe. This way, your garden will feel like a magical retreat.
Finally, let your imagination run wild. You can change the decorations with the seasons or add new elements as you find them. The beauty of a fairy garden is that it can evolve over time, just like the stories it inspires.
Create A Fairy Garden Village With Mini Doors And Windows

Creating a fairy garden village is a delightful way to bring a touch of magic to your outdoor space. The image shows a charming setup with mini houses, each featuring unique doors and windows. These tiny details add character and invite imagination. You can almost picture fairies flitting about, tending to their gardens and enjoying the sunshine.
To start your own fairy garden village, gather some mini doors and windows. You can find these at craft stores or online. Choose a variety of styles to create visual interest. Here’s a simple list to help you get started:
- Miniature houses or structures
- Decorative doors and windows
- Colorful flowers and plants
- Natural stones for pathways
- Small figurines or accessories
Once you have your materials, pick a sunny spot in your garden or on your balcony. Lay down a base of moss or soil to create a lush landscape. Arrange your houses and accessories in a way that feels inviting. You can use stones to create pathways, leading visitors through your magical village.
Don’t forget to add some greenery and flowers around the houses. Bright blooms can enhance the fairy vibe and attract real-life pollinators. Consider using plants like succulents or small flowering plants that thrive in your climate.
Finally, let your creativity shine. You can paint the doors and windows in vibrant colors or add tiny decorations like fairy lights. The goal is to create a space that feels alive and whimsical. Enjoy the process, and let your fairy garden village become a little haven of joy.
Build A Fairy Garden Bridge Using Popsicle Sticks

Creating a fairy garden bridge with popsicle sticks is a fun and easy project. This colorful bridge adds charm to your miniature garden, making it feel magical. The image shows a small, vibrant bridge made from popsicle sticks, surrounded by beautiful flowers and pebbles. The bright colors of the sticks contrast nicely with the earthy tones of the garden, making it a delightful focal point.
To start, gather your materials. You will need:
- Popsicle sticks (various colors)
- Glue (hot glue works best)
- Scissors (if you need to trim the sticks)
- A small base for the bridge (like a flat piece of wood or cardboard)
Once you have everything, follow these simple steps:
- Lay out the popsicle sticks in a rectangular shape for the base of the bridge.
- Glue the sticks together, ensuring they are evenly spaced.
- Add vertical supports on each end of the bridge using additional popsicle sticks.
- For extra flair, glue smaller sticks across the top for a decorative touch.
After the glue dries, place your bridge in your fairy garden. You can position it over a small path or a tiny stream made from blue stones or glass beads. This bridge not only enhances the beauty of your garden but also sparks imagination. Kids will love playing with their fairy figures as they cross the bridge, creating stories and adventures in their little world.
Design A Seasonal Fairy Garden With Spring Flowers And Greenery

Creating a fairy garden is a delightful way to bring a touch of magic to your outdoor space. This image showcases a vibrant fairy garden filled with colorful spring flowers and charming decorations. The bright pinks, yellows, and whites of the flowers contrast beautifully with the lush greenery, making it a perfect springtime scene.
Start by selecting a suitable spot in your yard or on your patio. Look for an area that gets plenty of sunlight and is easily visible. A small container or a designated patch of soil can work well. Next, gather some materials. You’ll need small plants, decorative stones, and miniature fairy houses to create an enchanting atmosphere.
When planting, consider using a mix of flowers like petunias, daisies, and tulips. These blooms not only add color but also attract butterflies and bees, enhancing the garden's liveliness. Arrange the flowers in clusters for a more natural look. You can also add some greenery, like moss or small ferns, to fill in gaps and provide a lush backdrop.
Incorporate whimsical elements like tiny houses, fairy figurines, and garden lights. These decorations can be placed along winding paths made of stones, creating a magical journey through your garden. You might even want to add a small water feature, like a mini fountain, to bring a soothing sound to your space.
Finally, don’t forget to maintain your fairy garden. Regular watering and deadheading flowers will keep it looking fresh and vibrant. With a little care, your fairy garden will be a seasonal delight, blooming beautifully through spring and beyond.
Set Up A Fairy Garden In A Galvanized Bucket Or Tub

Creating a fairy garden in a galvanized bucket or tub is a fun and charming project. This type of container adds a rustic touch and is perfect for showcasing tiny homes and vibrant plants. The image shows a delightful scene with miniature houses nestled among colorful succulents and tiny flowers. Each element adds to the whimsical feel of the garden.
To start your fairy garden, gather your materials. You’ll need a galvanized bucket or tub, potting soil, small plants, and decorative items like miniature houses, stones, and figurines. Here’s a simple step-by-step guide:
- Choose your container: A medium-sized bucket works well.
- Add drainage holes if necessary to prevent water buildup.
- Fill the bottom with potting soil, leaving enough space for your plants and decorations.
- Arrange your plants, placing taller ones in the back and shorter ones in the front.
- Decorate with miniature houses, stones, and other fun items to create a magical scene.
Water your plants lightly and place your fairy garden in a spot where it can receive some sunlight. The galvanized bucket will not only hold your garden but also add a unique touch to your outdoor or indoor space.
Maintaining your fairy garden is simple. Regularly check the soil moisture and trim any overgrown plants. You can also change decorations with the seasons to keep the garden fresh and exciting. This project is not just a creative outlet; it can also be a great way to spend time with family and friends.
Make A Fairy Garden Fence From Twine And Small Branches

Creating a fairy garden is a delightful project that sparks creativity and imagination. One charming element to add is a fence made from twine and small branches. This simple yet effective design enhances the whimsical feel of your garden.
To start, gather some small branches from your yard or a nearby park. Look for branches that are relatively straight and sturdy. You’ll need four pieces for the corners of the fence and several smaller ones for the sides. Next, cut a length of twine that is long enough to wrap around the branches securely.
Begin by placing the branches in a rectangular shape. Use the twine to tie the corners together, making sure it’s tight enough to hold the structure. Then, weave the twine in and out between the smaller branches to create a decorative pattern. This adds a unique touch and makes the fence look more enchanting.
Once your fence is complete, position it within your fairy garden. Surround it with colorful flowers and tiny fairy figurines to bring the scene to life. The fence not only serves as a boundary but also adds depth and character to your garden.
Here are some tips to consider:
- Choose twine that complements the natural colors of your garden.
- Experiment with different weaving patterns for variety.
- Make sure the fence is proportionate to the size of your fairy garden.
This twine and branch fence is a fun and easy project that can be completed in an afternoon. It’s a perfect way to personalize your fairy garden and make it truly magical.
Create A Fairy Garden Corner At The Base Of A Tree

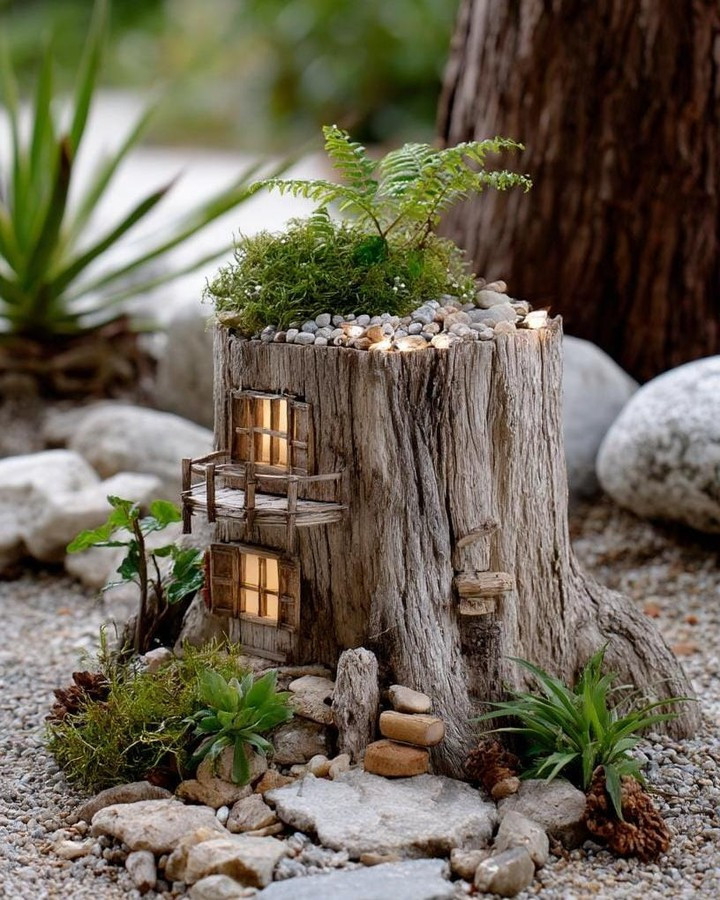
Transforming the base of a tree into a fairy garden corner is a delightful project. This space can become a magical retreat for both kids and adults. The image shows a charming setup with colorful fairy houses, vibrant flowers, and smooth stones, all nestled at the tree's base. The natural texture of the tree trunk adds a beautiful backdrop, enhancing the whimsical feel of the garden.
Start by choosing a suitable tree with a sturdy trunk and a wide base. This will provide a solid foundation for your fairy garden. Clear any debris or weeds from the area to create a clean slate. You can use a mix of soil and mulch to define the space, giving it a polished look.
Next, select your fairy houses. These can be store-bought or handmade. Place them strategically to create a cozy village feel. Consider adding small pathways made of pebbles or wood slices to connect the houses. This adds depth and invites exploration. You can also include miniature furniture or decorations to make the scene more inviting.
Flowers are essential for adding color and life. Choose a mix of perennials and annuals for continuous blooms throughout the seasons. Plants like pansies, daisies, or even small succulents work well. Surround the houses with these flowers to create a vibrant landscape.
Don’t forget to add some whimsical touches! Small figurines, fairy lights, or even a tiny birdbath can enhance the magical atmosphere. You can also use natural elements like stones or logs to create seating areas or decorative features. This will make your fairy garden corner a unique and enchanting spot.
Use Recycled Containers To Build An Eco-Friendly Fairy Garden

Creating a fairy garden in a recycled container is a fun and sustainable way to bring a little magic into your outdoor space. The image shows a charming setup with colorful figurines and vibrant flowers, all nestled in a lovely container. This approach not only saves money but also helps reduce waste.
Start by choosing a container that you already have at home. Old pots, wooden crates, or even tin cans can work perfectly. Make sure it has drainage holes to keep your plants healthy. If it doesn’t, simply drill a few holes at the bottom. This ensures that excess water can escape, preventing root rot.
Next, fill the container with potting soil. You can layer it with small stones at the bottom for extra drainage. Once your soil is ready, it’s time to add plants. Consider using small succulents, moss, or flowering plants that stay compact. These will create a lush environment for your fairy garden.
Now comes the fun part: decorating! Use miniature figurines, tiny houses, and colorful stones to create a whimsical scene. You can even add small signs or pathways made from pebbles. This is where your creativity shines. Arrange the elements in a way that tells a story or captures a moment in time.
Finally, place your fairy garden in a spot where it can be enjoyed. Whether it’s on a patio, balcony, or in the garden, make sure it gets some sunlight. Water the plants regularly, and watch your little fairy world come to life!
Design A Beach-Themed Fairy Garden With Sand And Shells

Creating a beach-themed fairy garden is a fun way to bring a touch of summer into your home or garden. This delightful setup can transport you to a sunny shore, even if you're miles away from the ocean. Imagine tiny fairies relaxing by a sparkling pool, surrounded by colorful shells and vibrant flowers. This scene captures the essence of a beach getaway, making it a perfect project for fairy garden enthusiasts.
Start by choosing a container that resembles a beach setting. A shallow dish or a wooden box works well. Fill it with sand to create the base. You can use real sand or craft sand, depending on your preference. Next, add small pebbles or stones to mimic beach rocks. Arrange them around the edges for a natural look.
Now, it's time to add some fun elements. Place miniature fairies in cute poses, as if they are enjoying their beach day. You can also include tiny beach chairs, umbrellas, and even a small pool made from a shallow dish filled with water. Don’t forget to sprinkle in seashells and colorful stones to enhance the beach vibe. These little details make the garden come alive.
To finish off your beach-themed fairy garden, incorporate some greenery. Use small plants or succulents to represent beach vegetation. Bright flowers can add pops of color. Arrange them around the fairies and other decorations to create a lush environment. This will not only beautify your garden but also attract butterflies and other pollinators.
Assemble A Fairy Garden Using Lego-Style Mini Accessories

Creating a fairy garden with Lego-style mini accessories is a fun and imaginative way to bring a touch of magic to your outdoor space. The image shows a colorful setup with charming little houses, vibrant flowers, and playful figures. Each piece adds character and whimsy, making it perfect for both kids and adults.
Start by selecting a base for your fairy garden. A shallow container or a small patch of soil works well. Arrange the Lego-style houses in a way that feels inviting. You can position them close together or spread them out for a more expansive look. The bright colors of the houses, like pink and blue, stand out beautifully against the green backdrop.
Next, add mini figures to bring your garden to life. In the image, you can see a character interacting with a friendly fox. This adds a narrative element to your garden, sparking creativity and storytelling. Consider including other figures, like fairies or animals, to enhance the scene.
Flowers are essential for a fairy garden. Use mini flower accessories to create a vibrant landscape. Place them around the houses and pathways to create a lush and inviting environment. The variety of colors will make your garden pop and attract attention.
Finally, think about adding small decorative elements like stones or pebbles to create pathways. This not only adds depth but also guides the eye through your fairy garden. You can arrange them in a whimsical pattern or a straight line, depending on your style.
Create A Glow-In-The-Dark Fairy Garden With Solar Lights

Creating a glow-in-the-dark fairy garden is a fun and magical project that can brighten up your outdoor space. Imagine tiny houses glowing softly as the sun sets, surrounded by colorful flowers and twinkling lights. This enchanting scene can be easily achieved with solar lights, which not only add charm but also make your garden shine at night.
Start by selecting a suitable spot for your fairy garden. Look for an area that gets plenty of sunlight during the day. This will ensure your solar lights charge effectively. You can use a variety of materials to create your garden, such as small stones, moss, and miniature decorations. Arrange these elements to form pathways and cozy nooks for your fairy houses.
Next, choose solar lights that fit your theme. There are many options available, from tiny lanterns to glowing stones. Place these lights strategically around your garden. For instance, you can line a path with glowing stones or hang lanterns from nearby branches. This will create a whimsical effect as the lights illuminate your garden.
To enhance the glow-in-the-dark effect, consider using reflective materials like mirrors or shiny stones. These can help bounce light around, making your garden appear even more magical. You can also add some colorful flowers or plants that bloom at night to complement the lights.
Finally, take some time to enjoy your creation. Invite friends or family to see your fairy garden, especially at dusk when the lights come to life. This project not only beautifies your space but also brings a sense of wonder and joy. So gather your materials, let your imagination flow, and create a fairy garden that sparkles under the stars!
Build A Fairy Garden Staircase From Flat Stones

Creating a fairy garden staircase from flat stones is a delightful way to add charm and character to your miniature landscape. The image shows a lovely arrangement of flat stones leading up to a cozy little fairy house, surrounded by vibrant flowers and greenery. This setup not only looks enchanting but also invites imagination and creativity.
To start building your staircase, gather flat stones of varying sizes. You can find these at garden centers or even in your backyard. Lay them out in a gentle slope, making sure each stone is stable and secure. This will create a whimsical path that fairies might use to visit their friends.
Consider the following steps for a successful staircase:
- Choose stones that are easy to walk on, ensuring they are not too slippery.
- Arrange the stones in a way that allows for a gradual ascent, making it visually appealing.
- Fill in gaps with moss or small plants to create a natural look.
Adding small decorations like fairy figurines or tiny lanterns can enhance the magical feel. The combination of stones, greenery, and little accents will make your fairy garden a captivating spot to enjoy. Remember, the goal is to create a space that sparks joy and wonder.
Design A Fairy Garden Using Herbs And Small Edible Plants

Creating a fairy garden with herbs and small edible plants is a delightful way to blend beauty with functionality. The image showcases a vibrant scene filled with colorful flowers and charming miniature structures. This enchanting setup invites you to imagine tiny fairies flitting about, tending to their herb garden.
Start by selecting a variety of herbs that not only look good but also serve a purpose. Consider planting:
- Basil
- Thyme
- Mint
- Chives
These herbs can thrive in small spaces and add fragrance and flavor to your meals. The image highlights the lush greenery surrounding the miniature houses, making it a perfect backdrop for your edible plants.
To enhance the fairy garden, use small pots or baskets to hold the herbs. This adds dimension and makes it easier to care for them. You can also incorporate decorative stones and moss, as seen in the image, to create pathways and borders. This not only looks appealing but also helps with drainage.
Don’t forget to add some whimsical elements like tiny birdhouses or fairy figurines. These details bring the garden to life and spark the imagination. The colorful flowers in the image, such as daisies and pink blooms, can complement the herbs beautifully, creating a lively and inviting space.
Finally, remember to water your herbs regularly and place your fairy garden in a spot that gets plenty of sunlight. With a little care, you’ll have a magical garden that’s both a feast for the eyes and the palate.
Make A Fairy Garden Door Display For Garden Walls Or Fences

Creating a fairy garden door display can add a touch of magic to your outdoor space. The image shows a charming wooden door labeled 'Fairy Garden,' nestled against a wooden fence. This door is not just an entrance; it invites imagination and whimsy into your garden. Surrounding the door are delightful miniature mushrooms, potted plants, and smooth stones, all contributing to a vibrant fairy tale scene.
To make your own fairy garden door, start by choosing a suitable location on your garden wall or fence. Look for a spot that gets some sunlight and is visible from your favorite seating area. You can use materials like wood, cardboard, or even repurposed items to create the door. Paint it in bright colors or natural wood tones to match your garden's vibe.
Next, embellish the area around the door. Consider adding:
- Miniature plants in small pots
- Colorful stones or pebbles
- Small fairy figurines or garden gnomes
- Decorative mushrooms for a whimsical touch
These elements will help create a welcoming fairy garden atmosphere. You can also hang small decorations, like tiny lanterns or flowers, from the door itself. This adds depth and character to your display, making it a focal point in your garden.
Finally, don't forget to maintain your fairy garden. Regularly check on the plants and decorations to keep everything looking fresh and inviting. A little care goes a long way in ensuring your fairy garden door remains a magical spot for years to come.
Create A Fairy Garden Wheelbarrow Display For Patios

Creating a fairy garden in a wheelbarrow is a fun and charming way to bring a touch of magic to your patio. This unique display not only adds character but also serves as a delightful conversation starter. Imagine a small wheelbarrow filled with colorful flowers, miniature figures, and decorative stones, all set against a backdrop of lush greenery.
Start by selecting a wheelbarrow that fits your space. A smaller one works well for patios, while a larger one can be a focal point in a garden. Fill it with potting soil, and then layer in some small stones for drainage. This will help keep your plants healthy and vibrant.
Next, choose your plants. Opt for low-growing flowers like petunias or marigolds, which will add pops of color. You can also include some succulents for a unique texture. Arrange them in a way that feels natural, allowing some to spill over the edges of the wheelbarrow.
Don’t forget the fairy elements! Add miniature figures, like a fairy or a gnome, to create a whimsical scene. You could even include tiny furniture or a small water feature to enhance the magic. Place these items strategically to draw the eye and create a story within your garden.
Finally, maintain your fairy garden by watering the plants regularly and replacing any decorations that may fade or break. This little project can bring joy and creativity to your outdoor space, making it a lovely retreat for both you and your guests.
Build A Fairy Garden Using Artificial Plants For Indoors

Creating a fairy garden indoors can be a delightful project. Using artificial plants allows you to enjoy a vibrant garden year-round, regardless of the weather outside. In the image, you can see a charming setup featuring tiny fairies, colorful stones, and lush greenery. This arrangement brings a touch of magic to any space.
Start by choosing a container that fits your style. A glass bowl or a wooden box can work beautifully. Next, layer the bottom with pebbles for drainage, followed by soil or moss. This will create a natural look and provide a base for your plants.
When selecting artificial plants, consider a mix of textures and colors. Succulents, ferns, and flowers can add depth to your garden. The pink flowers in the image add a pop of color, while the greenery creates a lush backdrop. You can also include decorative elements like tiny bridges or lanterns to enhance the fairy theme.
Arranging your fairy garden can be a fun and creative process. Place larger plants towards the back and smaller ones in front to create a sense of depth. The fairies in the image are positioned playfully, which adds to the whimsical feel. Don’t be afraid to experiment with different layouts until you find one that feels just right.
Finally, consider adding small decorative items like colorful stones or miniature furniture. These details can make your fairy garden feel more complete. The pastel eggs in the image bring a festive touch, perfect for any season. With a little imagination, your indoor fairy garden can become a magical retreat.
Design A Woodland Fairy Garden With Pinecones And Acorns

Creating a woodland fairy garden is a delightful way to bring a touch of magic to your outdoor space. Using natural materials like pinecones and acorns adds a rustic charm that feels right at home in a fairy tale setting. Imagine tiny houses made from pinecones, nestled among vibrant green moss and colorful flowers.
Start by gathering your materials. Pinecones can serve as whimsical roofs for fairy houses. You can use acorns as decorative elements or even as tiny furniture pieces. Look for smooth stones to create pathways, guiding fairies through their enchanted world. This setup not only looks beautiful but also encourages creativity.
When arranging your garden, think about layout. Place larger pinecones at the back to create depth. Scatter acorns and stones along the path to add interest. Small figurines of fairies can be positioned around the garden, bringing it to life. Don’t forget to include some greenery; moss or small plants can act as lush lawns for your fairy friends.
To enhance the fairy garden, consider adding a few miniature accessories. Tiny benches, birdbaths, or even a small pond can make the scene more inviting. You can also incorporate seasonal decorations, like tiny pumpkins in the fall or flowers in the spring. This way, your garden can change with the seasons, keeping it fresh and exciting.
Finally, remember to enjoy the process. Building a fairy garden is not just about the end result; it’s about the fun of creating something unique. Invite friends or family to join in, making it a shared experience. Each garden can tell its own story, filled with imagination and wonder.
Create A Fairy Garden Table Setting With Mini Dishes And Chairs

Setting up a fairy garden table is a delightful way to bring a touch of magic to your outdoor space. Imagine a tiny table surrounded by charming little chairs, all set for a whimsical gathering. This scene can spark joy and creativity, making it a perfect project for both kids and adults.
In the image, you can see a lovely wooden table with a soft, natural finish. It’s adorned with small, round dishes that look just right for a fairy feast. The chairs are white and have a classic design, adding to the enchanting feel of the setting. A cute fairy figurine sits in the center, inviting you to imagine stories of tiny gatherings and magical conversations.
To create your own fairy garden table setting, start by choosing a spot in your garden or on your balcony. Gather materials like miniature furniture, flowers, and decorative stones. Here’s a simple list to help you get started:
- Miniature table and chairs
- Small dishes or cups
- Fairy figurines
- Colorful flowers or plants
- Decorative stones or pebbles
Once you have your materials, arrange the table and chairs in a way that feels inviting. You can place the fairy figurine at the center, surrounded by the dishes. Add flowers around the base to create a vibrant atmosphere. This setup not only looks charming but also encourages imaginative play.
Don’t forget to consider the seasons! You can switch up the flowers and decorations to match the time of year. In spring, use bright blooms, while autumn can bring in leaves and pumpkins. This flexibility keeps your fairy garden fresh and exciting.